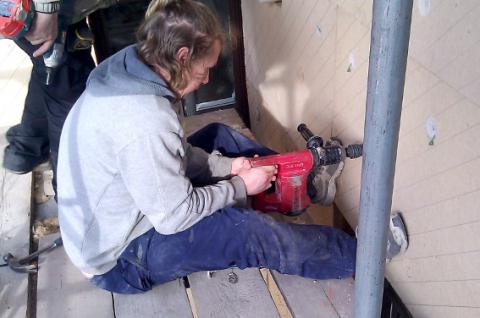
The last couple of weeks have been spent mostly on the rear external wall insulation.
First of all, the panels (which are 180mm thick) are bolted onto the wall, being cut to size around windows and doors etc (it's not easy to get good pictures unfortunately, because of the scaffolding):

Next, a 25mm thick board is used to line out window and door openings; also adhesive is used to stick this in place and to seal any gaps between the insulation boards:
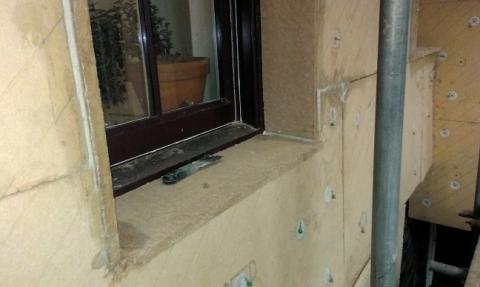
Then beading is installed on all the outside edges, and a special beading strip with a flexible material between the edge of the insulation and the window frames, to ensure an airtight seal is maintained (unfortunately I didn't manage to get any pictures of this). With all the beading in place, rendering can commence:
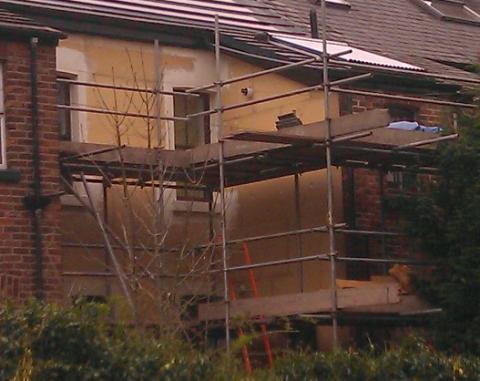
This is the beginning of the base coat (which is white); the finish coat (a terracotta red, in an attempt to match the original brick colour) will be going on later this week. In the above picture you can just about make out the window head and cill details, where we have tried to reproduce the original detailing.